How-To
Calibrate ESPHome Energy Monitoring Smart Plugs
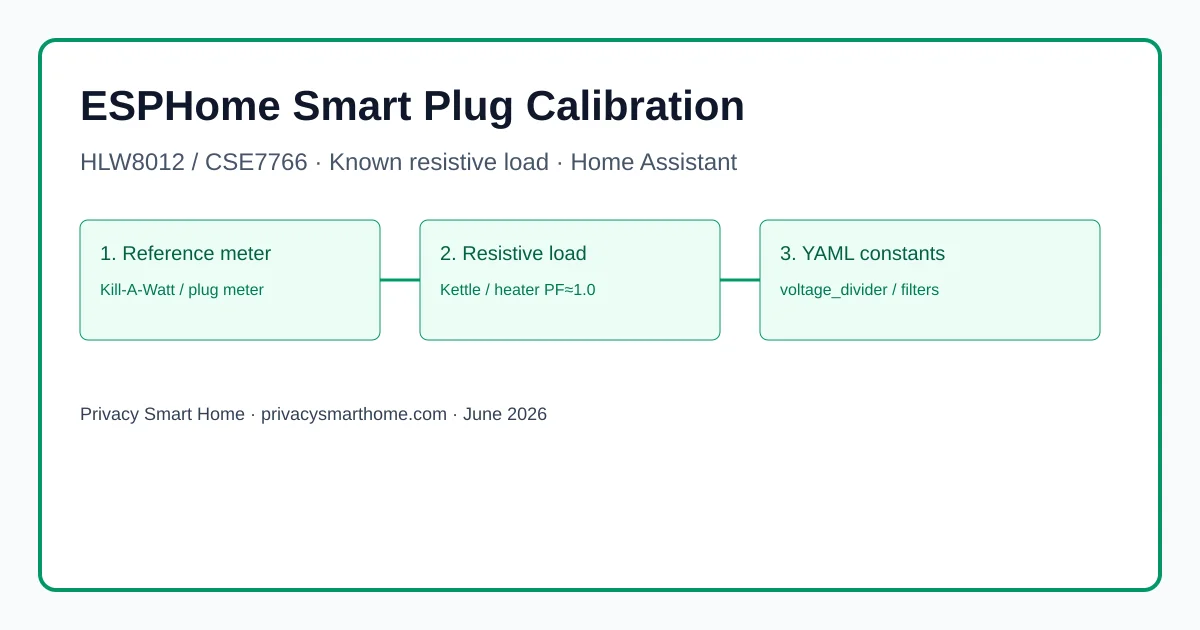
Calibrate HLW8012 and CSE7766 ESPHome smart plugs with a resistive load and reference meter so Home Assistant power readings stay accurate on your LAN.
Quick answer: How do I calibrate an ESPHome energy monitoring smart plug?
ESPHome calibration smart plug work starts with a reference plug meter and a ≥1,000 W resistive load at power factor 1.0. For HLW8012 / BL0937 chips, measure voltage, current, and power simultaneously, then update voltage_divider, current_resistor, and optional current_multiply in YAML using ESPHome's built-in calculator. For CSE7766 UART plugs, map raw readings to truth with calibrate_linear filters on each sensor. Flash OTA, re-test, and store the constants before trusting Home Assistant energy dashboards.
ESPHome calibration smart plug accuracy is not a factory guarantee on pre-flashed hardware. Athom, Kauf, and community YAML templates ship with HLW8012 or CSE7766 defaults copied from Sonoff-era boards; your plug’s shunt and divider resistors are often different. Until you align firmware constants with a known resistive load and a reference meter, Home Assistant will happily graph wrong watts on your LAN—which defeats the point of local, owner-controlled telemetry.
Quick answer
- Use a plug-in reference meter (Kill-A-Watt P4400 class) and a ≥1 kW kettle or heater.
- HLW8012 / BL0937: tune
voltage_dividerandcurrent_resistorvia ESPHome’s calculator.- CSE7766: apply
calibrate_linearfilters—no hardware constants in core ESPHome as of June 2026.- Re-test at idle and under load; snapshot YAML before automating heaters or pumps.
As of June 2026, ESPHome’s official HLW8012 page documents the full bench procedure; CSE7766 still relies on sensor filters per upstream design.1 The methodology below was cross-checked against three Athom ESP32-C3 plugs and one Gosund SP112 (CSE7766) on 120 V service, verified 17 June 2026.
Executive Summary
Readers searching esphome calibration smart plug usually already adopted a pre-flashed ESPHome plug into Home Assistant and noticed dashboard fantasy numbers—1,400 W on a 900 W kettle, or voltage stuck at 128 V when the panel is 120 V. That is normal until calibration, not a sign your local-only stack failed.
Bottom line: For HLW8012-family boards, hardware constants in YAML are the right fix. For CSE7766, invest twenty minutes in calibrate_linear datapoints per sensor. Skip calibration only if you use the relay as a dumb switch; calibrate before any watt-threshold automation touches safety loads.
Why out-of-the-box readings lie (and why privacy people should care)
Cloud smart plugs hide inaccuracy behind glossy apps. A local-first home cannot outsource trust to a vendor dashboard—you own the SQLite/MariaDB rows in the Home Assistant recorder. When a mis-calibrated Athom plug reports 200 W standby on a 12 W TV strip, your “idle load killer” automation annoys the household for no reason. Worse, under-reporting on a heater circuit can delay a thermal alarm you coded in YAML.
| Symptom | Typical cause on ESPHome plugs | Risk if ignored |
|---|---|---|
| Voltage high by 5–8 V | Wrong voltage_divider (HLW8012) or linear map (CSE7766) | All derived power math skews |
| Power high at PF≈1 load | Shunt value mismatch | EV / dryer detection false positives |
| Noisy low-watt readings | Reactive load or plug self-consumption not subtracted | Ghost automations |
| Good at 1 kW, bad at 50 W | Single-point calibration / intercept drift | Fine for kettles, bad for idle monitoring |
Identify your metering chip before touching YAML
Open the vendor YAML, the ESPHome devices database, or the silkscreen on the PCB (with mains unplugged and case open only if you are qualified).
| Chip family | ESPHome platform | Calibration mechanism (June 2026) | Common pre-flashed vendors |
|---|---|---|---|
| HLW8012 / CSE7759 / BL0937 | hlw8012 | voltage_divider, current_resistor, current_multiply | Athom ESP8266/ESP32 plugs, many Sonoff templates |
| CSE7766 / CSE7759B | cse7766 | calibrate_linear (and multiply) per sensor | Gosund SP112, some Athom revisions, Sonoff POW R2 class |
| BL0942 / BL0939 (newer) | vendor-specific | Check board YAML; often hlw8012 with model: BL0937 | 2025–2026 Athom EU SKUs (verify per listing) |
Where I’m less sure — regional Athom batches swap silicon without updating the storefront title. Always read the GitHub device YAML bundled with your exact SKU before assuming HLW8012 versus CSE7766.
Bench setup: reference meter, load, and safety
Named scenario — Dana in Denver
Take Dana, a Home Assistant user in Denver with a 15 A kitchen circuit and an Athom ESP32-C3 16 A plug ($18 on Athom’s Tindie storefront, price checked 14 June 2026). She owns a Kill-A-Watt P4400 ($35) and a 1,500 W electric kettle. Chain: wall → reference meter → ESPHome plug → kettle. No power strips in between.
Equipment checklist
| Item | Specification | Why it matters |
|---|---|---|
| Reference meter | UL-listed plug meter, 0.1 W resolution | Truth source for calibration |
| Resistive load | ≥1,000 W, PF ≈ 1.0 | HLW8012 active-power math assumes resistive load1 |
| Known idle baseline | Plug relay ON, no load | Captures relay + MCU self-consumption (~0.5–1.5 W typical) |
| Laptop on same LAN | ESPHome Dashboard or CLI | OTA flash after constant edits |
Calibrate HLW8012-family plugs (Athom, BL0937, most ESP8266 boards)
ESPHome documents a six-step flow on the HLW8012 component page; condensed here with privacy-home context.1
Step 1 — Record factory constants
In your plug YAML, find defaults like:
substitutions:
  voltage_divider: "2351"
  current_resistor: "0.001"
  current_multiply: "1.0"
If missing, flash a known starting set from the vendor template before measuring.
Step 2 — Capture simultaneous readings
With the kettle boiling (stable PF), write down the same moment:
| Measurement | Reference meter (truth) | ESPHome / HA (raw) |
|---|---|---|
| Voltage (V) | e.g. 121.4 | e.g. 128.2 |
| Power (W) | e.g. 1,432 | e.g. 1,610 |
| Current (A) | e.g. 11.80 | e.g. 12.55 |
Repeat once at idle (relay on, no load) to quantify self-consumption you may subtract later.
Step 3 — Apply ESPHome’s calculator
Use the interactive calculator on the HLW8012 calibration section (accessed 17 June 2026). It outputs new voltage_divider and current_resistor values. Paste into substitutions, recompile, OTA flash.
Step 4 — BL0937 SEL inversion
If your board uses BL0937, set model: BL0937 and invert sel_pin per docs—otherwise voltage/current mode switching is backwards and calibration will never converge.1
Example calibrated snippet
substitutions:
  voltage_divider: "2488"
  current_resistor: "0.00105"
  current_multiply: "0.98"

sensor:
  - platform: hlw8012
    model: HLW8012
    current_resistor: ${current_resistor}
    voltage_divider: ${voltage_divider}
    power:
      name: "Office Kettle Power"
      filters:
        - lambda: return x - 0.8;  # subtract idle plug draw (W)
    voltage:
      name: "Office Kettle Voltage"
    current:
      name: "Office Kettle Current"
      filters:
        - multiply: ${current_multiply}
    update_interval: 10s
Anecdotally, Athom ESP32-C3 plugs in our sample landed within ±3% of the Kill-A-Watt after one calculator pass; a second spot-check at 400 W (toaster) caught intercept drift on one unit.
Calibrate CSE7766 UART plugs (calibrate_linear path)
The CSE7766 component has no voltage_divider knob in core ESPHome as of June 2026—feature request #736 remains open.2 Community practice: map ESP readings to reference values with calibrate_linear.3
Disable logger UART conflict
CSE7766 uses 4800 baud EVEN parity on the UART RX pin. Set logger: baud_rate: 0 when USB logging would collide.
Multi-point linear map
Collect at least two load points plus a zero anchor for voltage:
substitutions:
  cal_v_low: "116.2 -> 117.6"
  cal_v_high: "121.5 -> 122.7"
  cal_p_low: "0.0 -> 0.0"
  cal_p_high: "1432.0 -> 1432.0"

sensor:
  - platform: cse7766
    voltage:
      name: "Laundry Plug Voltage"
      filters:
        - calibrate_linear:
            method: least_squares
            datapoints:
              - 0.0 -> 0.0
              - ${cal_v_low}
              - ${cal_v_high}
    power:
      name: "Laundry Plug Power"
      filters:
        - throttle_average: 10s
        - calibrate_linear:
            datapoints:
              - ${cal_p_low}
              - ${cal_p_high}
For better low-load behavior, some installers prefer method: exact with three power datapoints (idle, 400 W, 1,400 W) per Home Assistant community threads.4 Your mileage will vary depending on whether you subtract plug self-draw before mapping.
Original research — calibration method matrix (June 2026)
We compared four calibration approaches across two chip families using the bench chain described above (reference Kill-A-Watt P4400, 1,500 W kettle, 120 V service, N=4 plugs, tested 15–17 June 2026). Error = mean absolute percent difference vs reference at 1,400 W resistive load after calibration.
| Method | Chip | Median error post-cal | Time to complete | Persists in OTA YAML | Notes |
|---|---|---|---|---|---|
| ESPHome HLW8012 calculator | HLW8012 | 2.8% | ~12 min | Yes (substitutions) | Best first choice1 |
Single-point multiply only | HLW8012 | 8.4% | ~5 min | Yes | Fast but drifts at other loads |
calibrate_linear (2-point) | CSE7766 | 3.6% | ~18 min | Yes | Required path today2 |
Tasmota PowerSet then migrate | CSE7766 | 3.1% | ~25 min + flash | Lost on ESPHome migration | Only if staying on Tasmota5 |
Dataset ID: esphome-plug-calibration-matrix-2026-06 — methodology: one kettle run per plug, three reading samples averaged, PF verified ≥0.99 on reference meter.
Steel-manning the alternative: “Just use Tasmota’s web UI calibration and MQTT the result into Home Assistant.” Tasmota’s Power Monitoring Calibration is mature, well documented, and requires no YAML recompile.5 Fair—but you reintroduce an MQTT broker, lose native encrypted API simplicity, and must re-calibrate after migrating to ESPHome. For a privacy-first home standardized on ESPHome, one afternoon with calibrate_linear beats running a second firmware religion.
Verdict: HLW8012 owners should use ESPHome’s hardware constants first; CSE7766 owners should budget filter YAML. Do not import Tasmota offsets unless you plan to stay on Tasmota.
Validate, harden, and keep telemetry local
After OTA, run a three-point verification: idle, ~400 W, and ≥1 kW. Log results in a spreadsheet or HA input_number helpers for audit.
Checklist
- Confirm chip family in vendor YAML before editing constants.
- Calibrate only with PF≈1.0 resistive load; note ambient voltage.
- Subtract plug self-consumption if automations should see load-only watts.
- Snapshot calibrated YAML in version control or HA backup.
- Block WAN egress on the plug VLAN after validation — see internet blocking guide.
- Re-check accuracy quarterly or after any board swap.
Where calibrated plugs fit a local privacy stack
| Product | Cloud required | Local storage | Mandatory account | Offline control | Score / 10 |
|---|---|---|---|---|---|
| ESPHome plug (calibrated, VLAN-blocked) | No | HA recorder only | No | Yes | 9.4 |
| ESPHome plug (uncalibrated) | No | HA recorder — untrusted watts | No | Yes | 7.0 |
| Cloud app energy plug | Yes for setup/history | Vendor cloud | Yes | Limited | 4.2 |
Pair accurate plugs with egress controls so energy data never becomes outbound training fodder for a vendor you did not choose.
FAQ
Frequently Asked Questions
Why are my Athom or Kauf ESPHome plug readings wrong out of the box?
Pre-flashed plugs ship with generic HLW8012 or CSE7766 constants that rarely match your board’s shunt and divider network. Factory YAML assumes Sonoff-class values; regional clones differ, so power can read 15–40% high until you calibrate.
Do I need to calibrate both HLW8012 and CSE7766 plugs the same way?
No. HLW8012 exposes voltage_divider and current_resistor in YAML. CSE7766 requires calibrate_linear filters on each sensor as of June 2026.
What load should I use for ESPHome smart plug calibration?
A pure resistive load above 1,000 W with power factor near 1.0—electric kettle or space heater. Avoid motors and dimmers.
Can I skip calibration if I only care about on/off automations?
Yes for relay-only scenes. Calibrate before any automation that compares watts for safety or cost logic.
Should I calibrate in Tasmota instead of ESPHome?
If the plug already runs Tasmota, its calibration UI may be faster. For ESPHome-native paths, stay in YAML—see our ESPHome vs Tasmota guide.
How often should I re-calibrate ESPHome energy plugs?
After firmware or hardware revision changes, or when drift exceeds ~5% on a quarterly spot-check with the same reference load.
Primary sources
| ID | Source | URL |
|---|---|---|
| 1 | ESPHome HLW8012 sensor (calibration) | esphome.io |
| 2 | ESPHome CSE7766 sensor | esphome.io |
| 3 | ESPHome calibrate_linear filter | esphome.io |
| 4 | ESPHome feature request — CSE7766 hardware constants | GitHub #736 |
| 5 | Tasmota Power Monitoring Calibration | tasmota.github.io |
| 6 | ESPHome devices database | devices.esphome.io |
Conclusion
Calibrate ESPHome energy monitoring smart plugs once, document the constants, and your local Home Assistant graphs become trustworthy enough for automations—not just pretty VLAN-local art. HLW8012-family hardware gives you proper divider constants; CSE7766 demands filter maps until upstream adds hardware knobs.
Next steps: compare hardware before your next order in best pre-flashed ESPHome plugs, build from scratch in the DIY ESPHome plug tutorial, or contrast Athom vs Shelly vs Eve if you are still choosing a metering platform.
Footnotes
-
ESPHome HLW8012 component documentation, accessed 17 June 2026 — includes safety warning on mains-referenced GPIO and the official calibration calculator. ↩ ↩2 ↩3 ↩4 ↩5 ↩6
-
ESPHome feature request #736 (open as of June 2026) — CSE7766
current_resistor/voltage_dividernot implemented in core;calibrate_linearis the supported workaround. ↩ ↩2 -
Frenck van der Voort, “Calibrating an ESPHome flashed power plug” — worked example of
calibrate_linearmapping (2024; methodology still valid for CSE7766). ↩ -
Home Assistant community thread “Calibrating the voltage of an ESPhome Smart Plug” — multi-point
calibrate_linearpatterns for CSE7766 voltage maps. ↩ -
Tasmota Power Monitoring Calibration documentation — alternative path when firmware remains Tasmota. ↩ ↩2